 It’s one of those “first” for every ham radio operator that is interested in HF! The radio may be plugged in and set up but the antenna has GOT to be right for things to work well. So, I got my hands on an Alpha-Delta DX-CC. I researched the internet for options for feed lines. Since I was dealing with almost a 200′ run, coax loss was a concern that needed to be addressed. I also wanted to put it in the best spot possible and facing the right direction for my intentions. Given the barriers on the property, a few extra hands never hurts to have. In the event of a cookout, an antenna raising part broke out! Click here to see this event from the viewpoint of K4MTX on his blog!
Here is how it things went.
I had a Alpha-Delta DX-CC given to me by a friend of the hobby that was moving out of town. He couldn’t use the antenna at his new location and he wanted to make sure it was going to a good home! It was quite an honor since he was such a good friend and was a mentor for the short time that I knew him after I got my ticket. His advice and assistance was HUGE getting me started in the hobby.
I went with RG-213 for my coax. The loss wasn’t terrible but better than RG-59 and 8X. Cost was also a concern due to the length of coax I was looking to buy. I found the 213 for around $1/foot and opted to put the ends on myself to that I could only use what I needed rather than having to round up to the nearest 50 foot!
The antenna already had insulators at the ends. I just needed to choose the anchor line for the apex and the ends. I went with black 550 paracord. I already had plenty of it on hand; it has great strength properties and its small enough not to be an eye sore in the air. UV rating is a concern but reliability is as well. My plan is to use this for about a year, bring the antenna down for inspection and go from there. Shock absorption is a concern as well and will be addressed later down the page.
That being said, I was eager to get the antenna in the air to see what it could do so I invited a few ham friends over to the house to put it up. I knew the general idea behind the project but I wanted to know I was doing it right. As you will read later, the experience brought to the setup proved invaluable. I have 6 HUGE water oaks through out the yard and even permission from my neighbors to use their “antenna supports” without restriction.
Wanting to get into Europe and most of the US, we decided to run the wire pretty much north to south which puts the broad side radiating east to west. We chose the apex location very strategically for the coax route. I really didn’t want it dropping down directly in the most used portion of our yard but I didn’t want to run 500′ of coax to the antenna either. We picked a place that was about 20′ behind the family swing/patio. That definitely fit the YL’s request not to block her view of the night sky from the swing!
John (N4DOU) was eager to try out the pneumatic launcher. With one shot, he was able to shoot the apex line very easily. He was able to get it over a branch about 45 feet above the ground. After we found some viable options for anchor points, he then shot lines over other limbs in both directions to where the antenna would not be in danger of limb strikes during heavy winds.
What I didn’t expect was the amount of innovative tree trimming that had to be done to make this happen. There were dead limbs that were blocking some of our most preferred gaps between the branches. Most of our attempts to shoot lines were directed over the dead limbs to encourage a more prompt termination of their inevitable demise. With 550 paracord draped over the lifeless limb, only gentle persuasion was needed to complete the desired task.
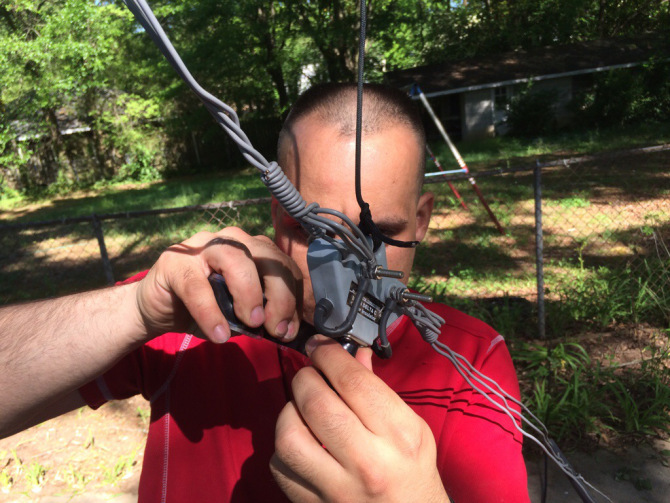
After all of the lines were in place, Monty (K4MTX) did a great job of placing the PL 259’s on the 213 coax that I purchased from my local HRO store. I bought it by the foot for cost reasons and to only use the amount of coax needed for the application rather than having to round to the nearest 50 – 100 feet!
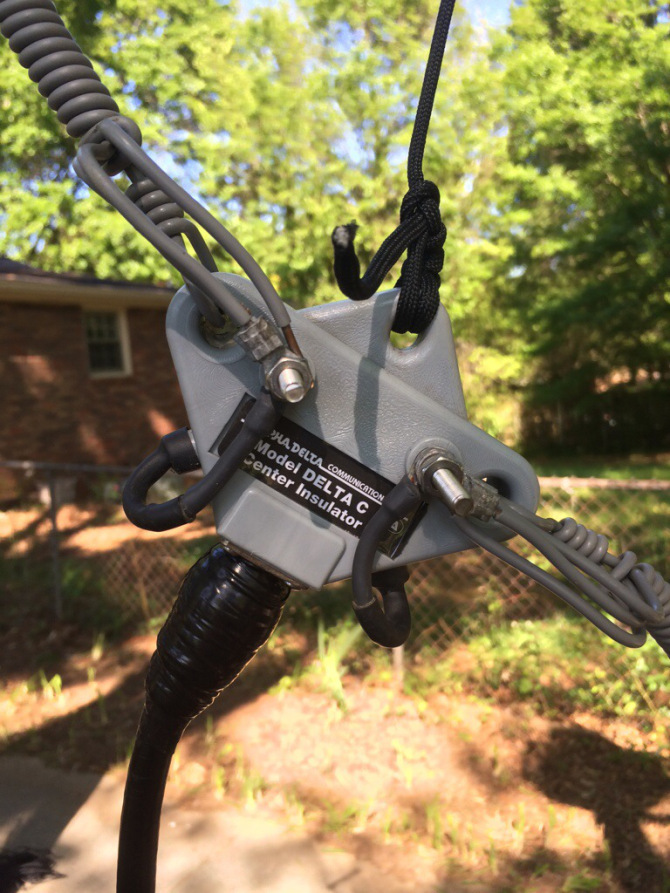
Then came the sealing of the coax to the center insulator. At the advice of John and Monty, I picked up some coax seal from HRO and Scotch Super 33+ vinyl tape. We applied one layer of vinyl tape and one layer of coax seal followed by one more layer of vinyl tape! They made me do it myself while they instructed, critiqued, took pictures for their own blogs. I definitely learned a lot in the process and feel that I could definitely do it again if I needed to.
Given the weight of the coax and height of the apex, we were all in agreement that some sort of strain relief device was in order to take the weight off of the PL-259 connection. After all, solder was all that was really holding it in place. Here is what I came up with.

I used a piece of rigid aluminum wire (used for a suspended ceiling support) and attached it in a way that it would divert the weight of the coax to the support and not the connection. I ran one end through the supporting hole of the insulator that supports one leg of the dipole. I then used electrical tape to create a cushion around the coax apx 10 inches down from the connector. I bent the aluminum rod as to provide a “V” at the bottom and then used a stainless steel radiator clamp to secure the rod to the tape-padded part of the coax. The clamp rested in the “V” of the rod to prevent the rod from slipping out of the clamp.
The apex was raised to apx 35 feet and the coax was routed through the yard to the ham shack. Total coax used was apx 175 feet. The apex was only raised to apx 35 feet even though the limb was 10 feet higher. That was due to the fact of yet another limb that was hanging on past its productive lifespan was blocking the next 10 feet. John adopted that limb as his nemesis and made several references to its demise as well. But looking at the need for incredible accuracy and the impending arrival of sunset, we decided that our efforts/time would be more appropriately directed to “tying up loose ends” at the distal anchor points and securing connection to the shack.
Shock absorption… Tree sway was definitely a concern when looking at slender limbs that were 45 to 50 feet high and about 20-30 feet away from the main trunk of the tree. My distal anchor points were low enough on the trucks that I was not worried about them moving at all. The only movement that would be taken into consideration would be the limb that the apex support uses. I would expect that metal coil springs would rust and eventually fail. Using bungee cord would probably yield the same UV issues that we previously addressed. Not sure of my permanent solution, I simply secured the paracord to the top rail of a fence on the property. I figured with a slight stretch in the paracord and flexibility of the top rail, it would have a good margin of movement if needed. It was put to the test very quickly. Two days after the antenna was put up, we had some strong winds (20-30 mph) came by and produced quite the storm. Inspection of the setup after the storm revealed no change or damage to the cords or anchor points. Final thoughts… I am not looking to keep the antenna in the air given tornado force winds. Along with the paracord, I’ll simply keep and eye on the setup and correct any deficits as they arise.
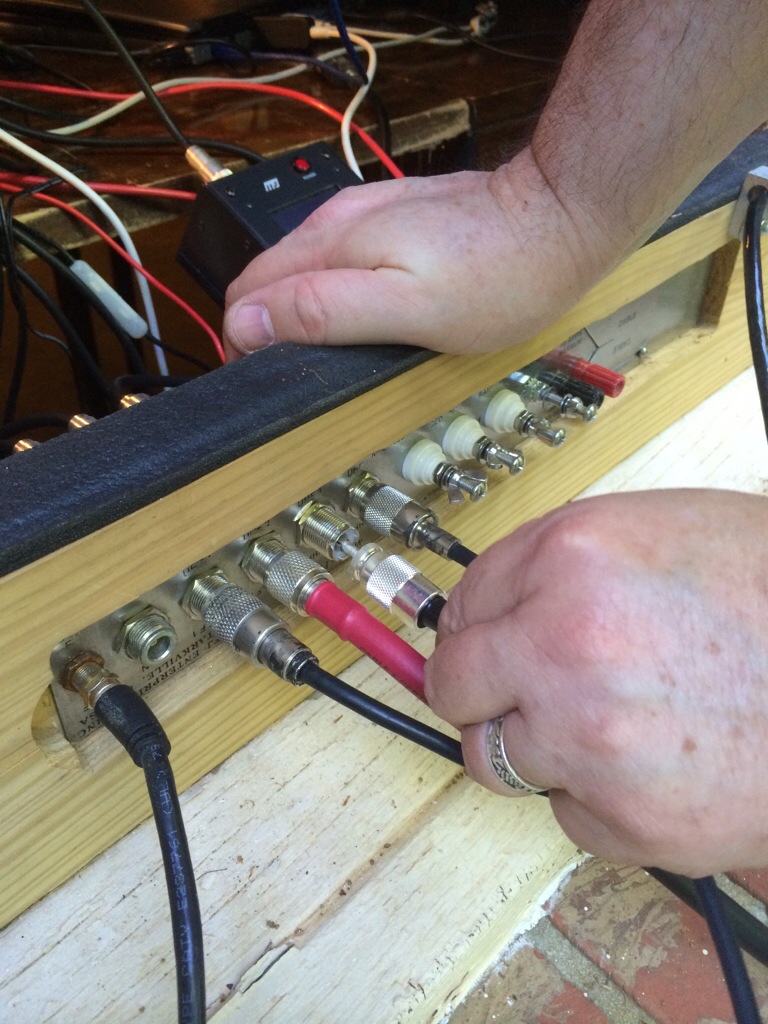
After all of that was completed, it was time to use the analyzer to see what she would do. Click Antenna Chart to view the spread sheet that I created to get a base line as-is. I documented the SWR measurements at the band limits, 10 – 80 meters, and then found the dips and documented those SWRs as well.

With my antenna tuner (LDG AT-200 Pro II), all values were within the capabilities. I did find that most of the frequencies with the lowest SWR were either below the lower band limit or much closer to the lower portion of the band. Only 12 and 17 meters didn’t follow suit. Looking at the specs for this specific antenna, this doesn’t surprise me.
To christen the antenna, we then went to the shack and turned on the 857 and started surfing the bands. We locked onto a W1AW/1 station in New Hampshire that was booming in at S9+! Very impressive being that this station was located directly off of the end of the antenna! We listened to the pile up a while and decided to try the first contact with my new antenna! On the second try, got a report of “K4NHW, you’re 5/9 into New Hampshire”. Something is working right! Over the next few nights, I spent a few hours at the radio getting to know my new setup and making contacts. In less than a week with very limited effort, 20 entries in 5 different countries were added to the logbook; US, Canada and into Europe. Most of the US contacts were the W1AW stations including New Jersey, New Hampshire, Connecticut and Nevada. Bottom line, it works!
With the apex being apx 35 feet above ground and the ends of the antenna being closer to 15-20 feet at the ends of the 41 feet legs, I am sure that some geometry junkie could come up with the specific angles and affects that it has on the electrical length of the antenna. Again, the antenna works and works well as-is. All SWR’s are well within the capabilities of my tuner and within the expectation of the manufacture by design. And then this…
With some free time on my hands Wednesday afternoon, I broke out the slingshot launcher and see just how lucky I can be getting “the limb” down. My plan was to see if I could put the line in the right spot (which could take a while), wait for an extra pair of hands to help hold the antenna out of the way as I bring the limb down with some gentle persuasion. On the 3rd attempt, the 1oz weight went directly over “the limb” and all of the way to the ground. I tied a piece of paracord to the laucher line and was hoisting the paracord up and in place. After I was able to grab the end of the paracord on my side of the limb, I pulled it a little more when I met resistance. The other end that was on the ground ahead of me got caught on the swing and provided the resistance. That’s all it took to break the limb and cause it to fall.
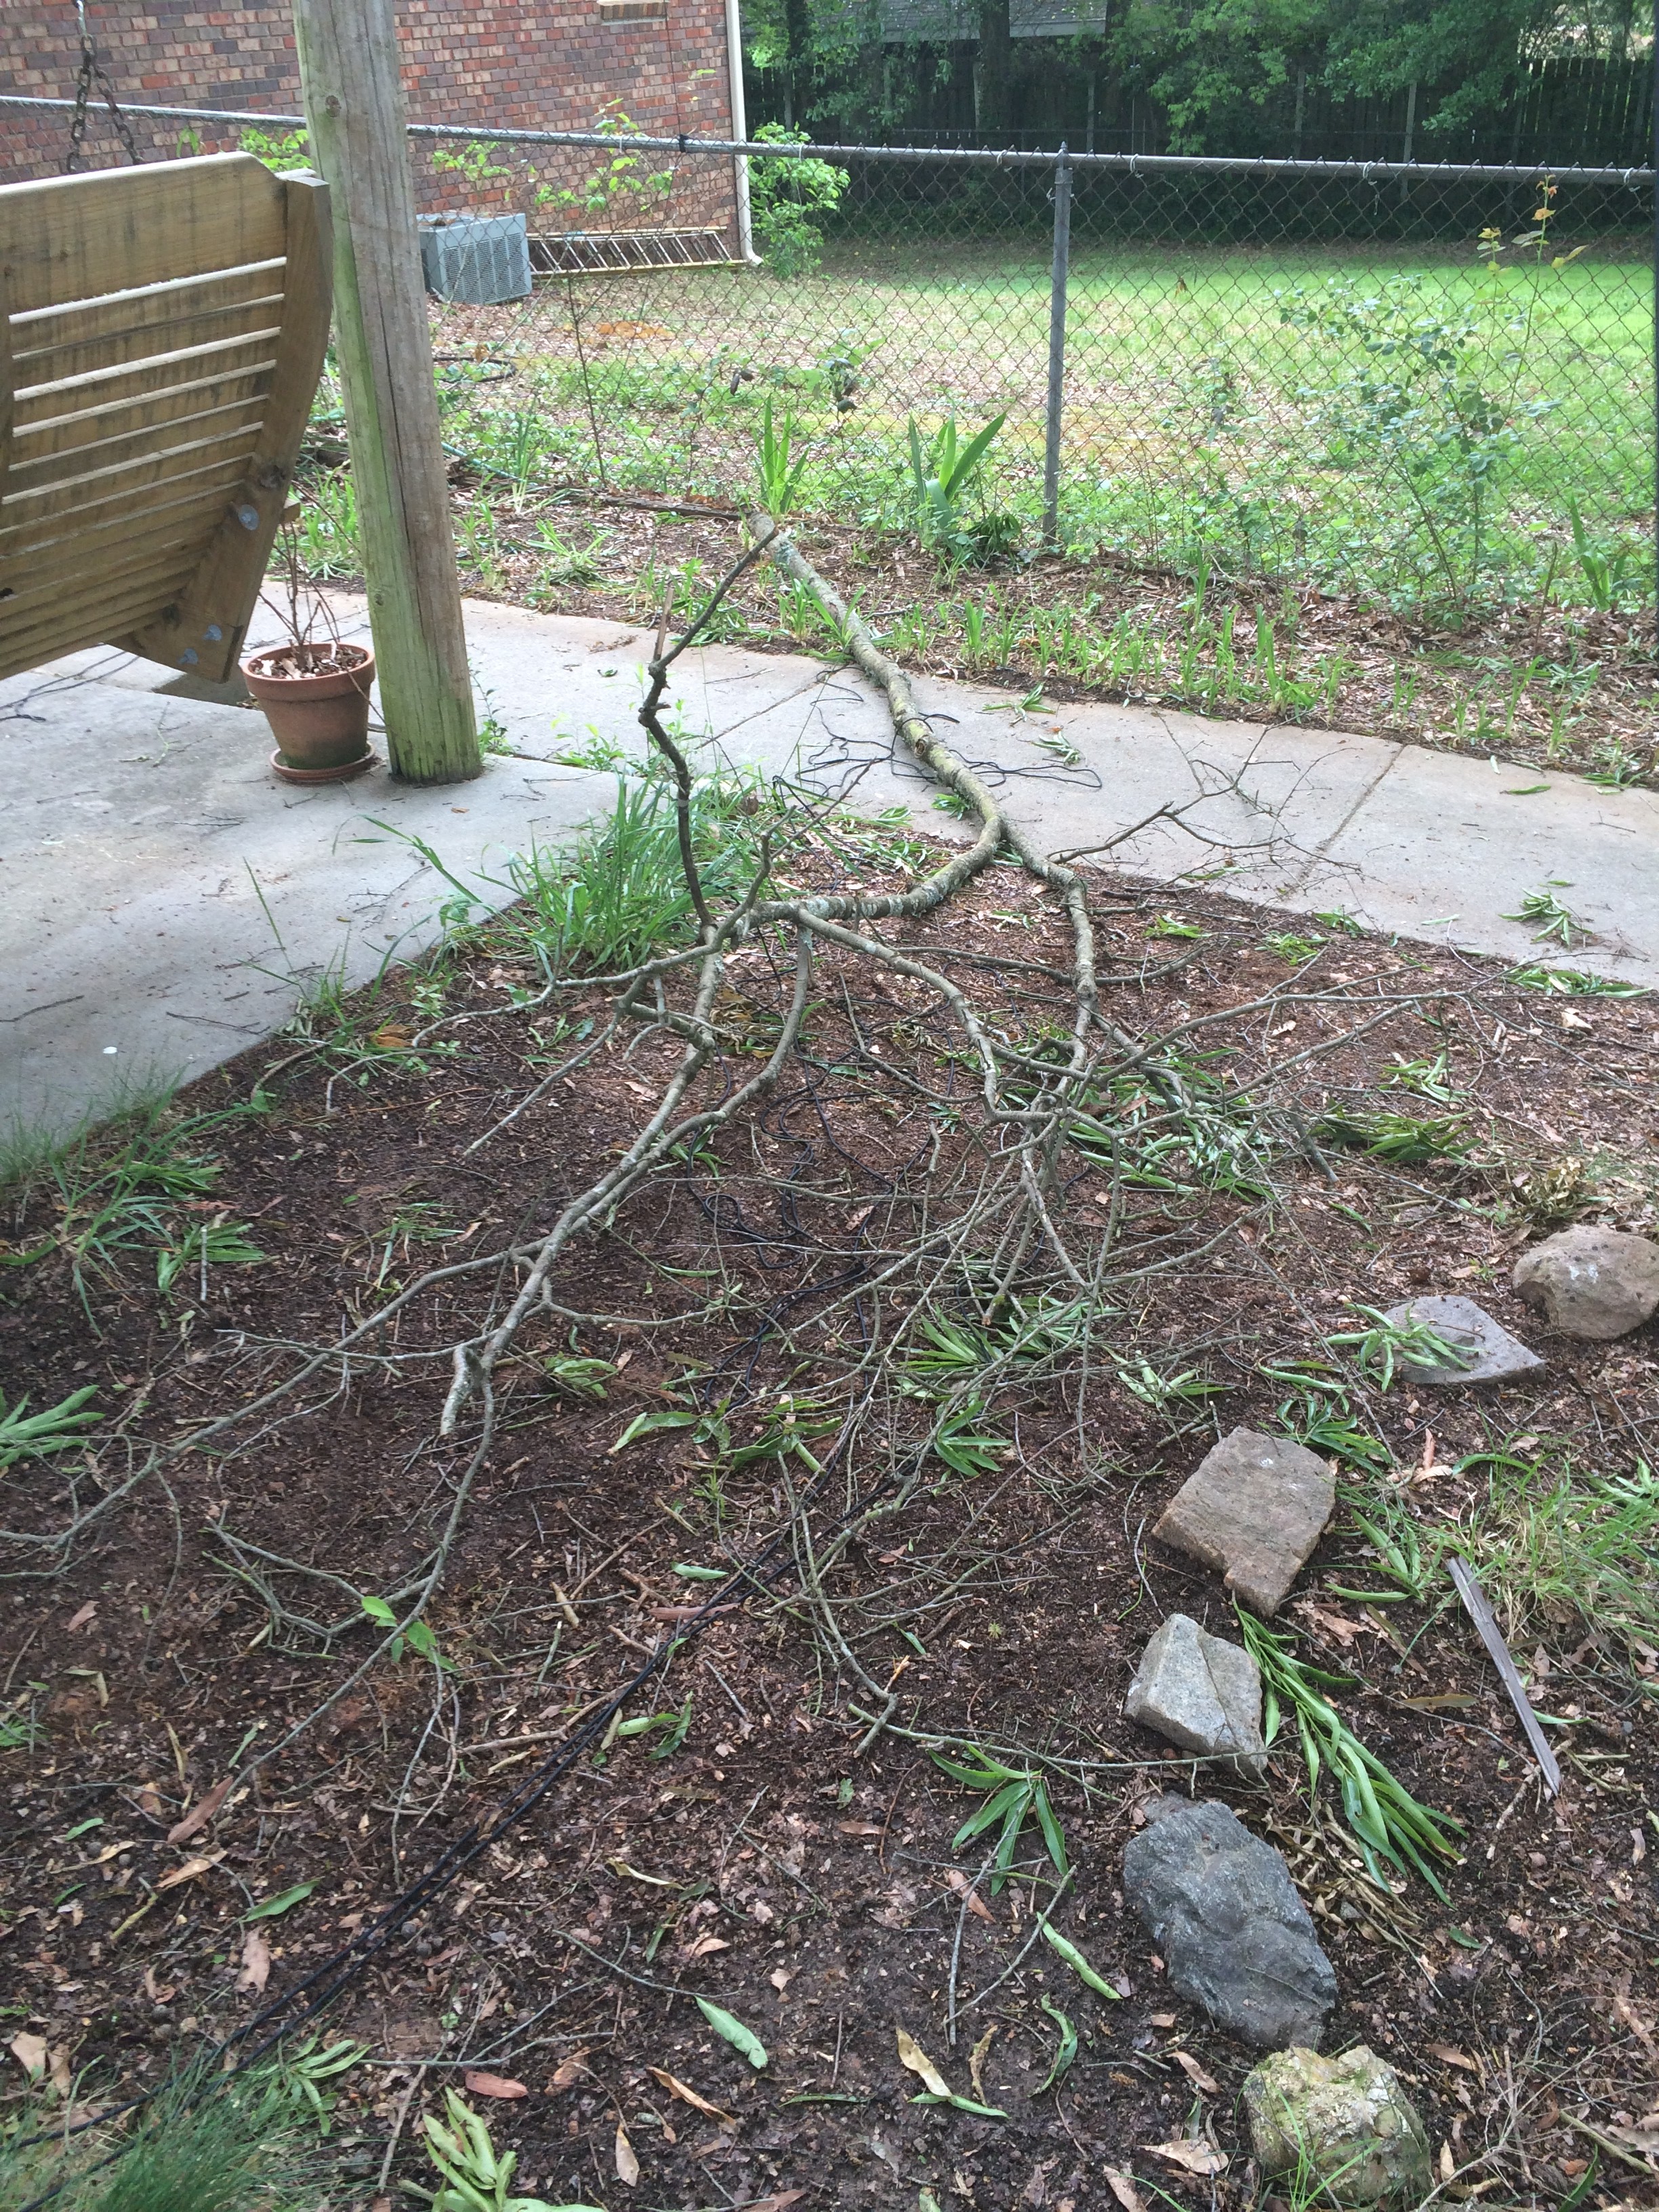
Unfortunately, it did strike the antenna a lot harder than I would have liked it to, but at that point, I didn’t have much of a choice but to watch and hope for the best. It didn’t snag the antenna and didn’t to cause any damage to the antenna. The Alpha Delta antenna is built incredibly well and I am grateful.
I took pictures of “the limb” (above) for John and texted him my success story. He responded almost immediately with celebration.
Now for my next move… With the obstruction for the apex removed, I can now raise the antenna apx 10 more feet in the air bringing the height to 45 feet! I would have to re-shoot both of the legs over higher branches to ensure clearance for branch sway but it shouldn’t be too much trouble at all and will not require any more tree trimming. I would be very tempted to use the existing anchor points for the legs since those lines are already in place. Going back to the current SWR chart and the theory of correction, this would probably help my case. At this point, I am definitely tempted to take advantage of the additional 10 feet on the apex and just see what the effects are.
I’ll post the results when they are in!